It’s one of those moments of panic when you’re changing a bulb in one of your designer lights and fear ruining something – you’re sure not alone. Unlike standard lamps, unique or designer lights tend to be designed with intricate constructions, fine finishes, and, oftentimes, fragile materials that demand a considerate touch.
How do you go about changing those bulbs without causing damage? That’s what we are on a quest to find out. Join us as we furnish you with real and useful ways that prepare you in mind and spirit to be able to handle designer lamps without ever sacrificing beauty. Ready to feel safe about stress-free bulb replacement? All right, off we go!
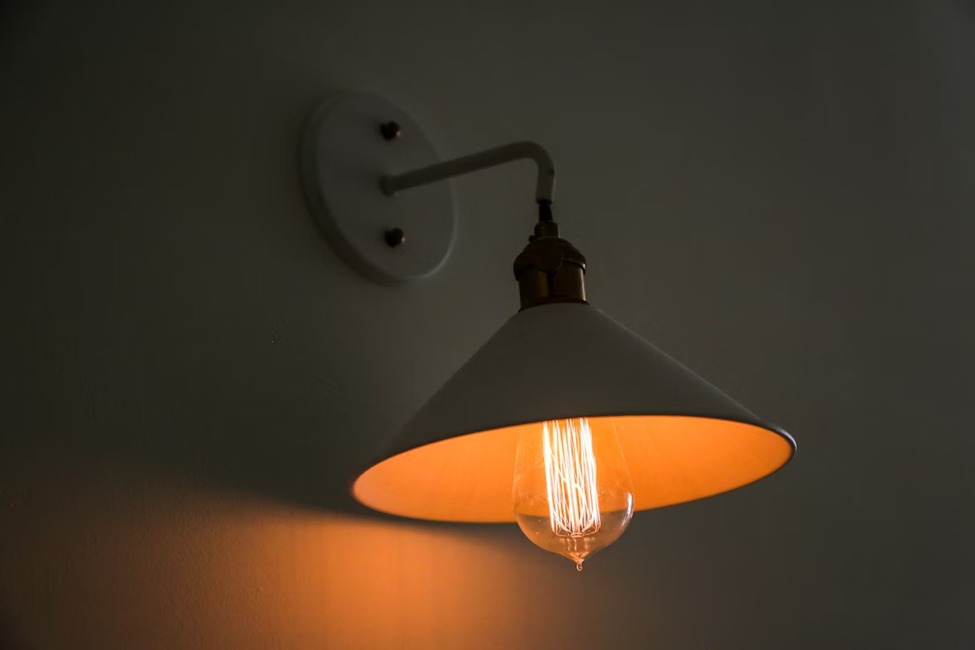
Why Care Matters with Designer Lights
Designer lights are not just about illumination; they are also investments in style and atmosphere. Most custom-made ones include glass, metals, or fragile items like fabric. Misusing and mishandling the bulbs can result in damage such as cracking, scratching, and different electrical glitches. Use these tricks not only to extend the life of your bulbs, but also to beautify your interiors to the utmost extent.
Step 1: Turn Off and Unplug
It may seem obvious, yet many do overlook it. Before touching any lamp, especially the designer ones, please cut off the power and unplug it. It ensures your safety and prevents accidental sparks or short circuits while handling the bulb.
Step 2: Check the Bulb Type
Specialized light sources are actually used in designer lights such as LED capsules, G9s, or vintage-style filaments, not as standard screw-in bulbs. Always check the user manual to look into what type of bulb to use in the lamp, or check the existing bulb. Sometimes the wrong bulb is used, and it can cause damage to the fitting or to how the light is produced.
Step 3: Handle with Care
Use both hands to remove the old bulb when possible. If it is a delicate glass bulb, use soft cotton gloves when putting your fingers on the bulb so that no smudges or oil marks will be left behind. If you find the bulb to be stuck, just wiggle it gently and never force it off.
Step 4: Clean Before Replacing
You can touch on the idea of giving the lamp a gentle dusting or a cleaning. Because those design lights tend to collect dust into their fine lines and separator details, this is where you take a soft microfiber cloth or a little brush and clean them. It probably goes to say, never use abusive cleaners because they are liable to damage finishes or materials.
Step 5: Insert the New Bulb Properly
Examine the bulb for any possible defects and fit it carefully into the socket. Give the bulb a twist to tighten, but avoid over-tightening, as that could fracture the glass or strain the threads. For push-fit bulbs, make sure to press down gently yet firmly until it feels secure.
Use Energy-Efficient Bulbs
When you have to change bulbs in designer lamps, make sure you are using LEDs wherever applicable. The lower heat production protects fragile lamp materials, extending the duration of the bulb and thus reducing the number of replacements.
Changing the light bulbs in designer lights does not need to be a hassle. You can lessen your stress by switching off the electric lights, being careful, cleaning well, and picking the right bulb, which might save the fixture and your investment. The next time you replace a bulb, think of it as an opportunity to perform maintenance not just on your light, but on keeping perhaps a little energy in the room.


